input ⇆ output
playing with interactivity
class assignment
Over the past few weeks, I’ve been collecting an are.na channel of websites that use cursor position to do different things to the page. It can be fun to mess with your user’s sense of space and motion: like Yotam Hadar’s Yale Exhibition site, which requires quite a lot of thought before you’re able to navigate it.
There’s the potential to do some pretty complex things with the information that the webpage collects about your interactions with it. Take Studio Moniker’s ClickClickClickClick project…
I’ve made a set of 4 demos, each of which explore a different mode of event-based interaction with the fruits object that you all looked at in this week’s tutorial.
-
Pick a jQuery event method that you’re interested in using. You can either use one from one of the demos, or from the list. It doesn’t matter if you choose the same or different methods in your groups.
-
Each person in the group discusses briefly the affordances of their chosen method: what kind of interactions does it imply? Which does it preclude? How can you use this method to create an interesting user experience of exploring your object?
-
Each person in the group makes a new web page in your Github folders. Make a prototype of your interaction using a single HTML element, and verify that it works. Show this to the group, then commit your work to git.
-
Once you have a working demo, incorporate the object that you made last week into the page, combining it with the interactive code that you just created. Look to the tutorial and the demos for reference. (like last week, this will be your assignment for the rest of the week)
tutorial: interactive elements with jQuery
This tutorial will develop on the tutorial from last week (so if there’s something you’re unsure about, check back there first). We’ll look at how to add interactivity to our object collections, and explore how to construct more complex elements using jQuery. When you’re going through this tutorial, have a page open in Sublime Text and test the code out!
To play along, open up a terminal and type this to download the files:
git clone https://github.com/agnescameron/parsons-fruits-tutorial.git
cd parsons-fruits-tutorials
You can also download them here.
recap: where are we at the moment
At the moment, in our files, we have:
- an array of objects:
var fruits, which have propertiesname,color,flavor,shapeandemoji(i added that one :) ) - a flexbox on an HTML page, which we can add divs to
- a for loop which appends a div containing a fruit name for each element of the
fruitsarray to the flexbox - a stylesheet, which styles the divs by class (box)
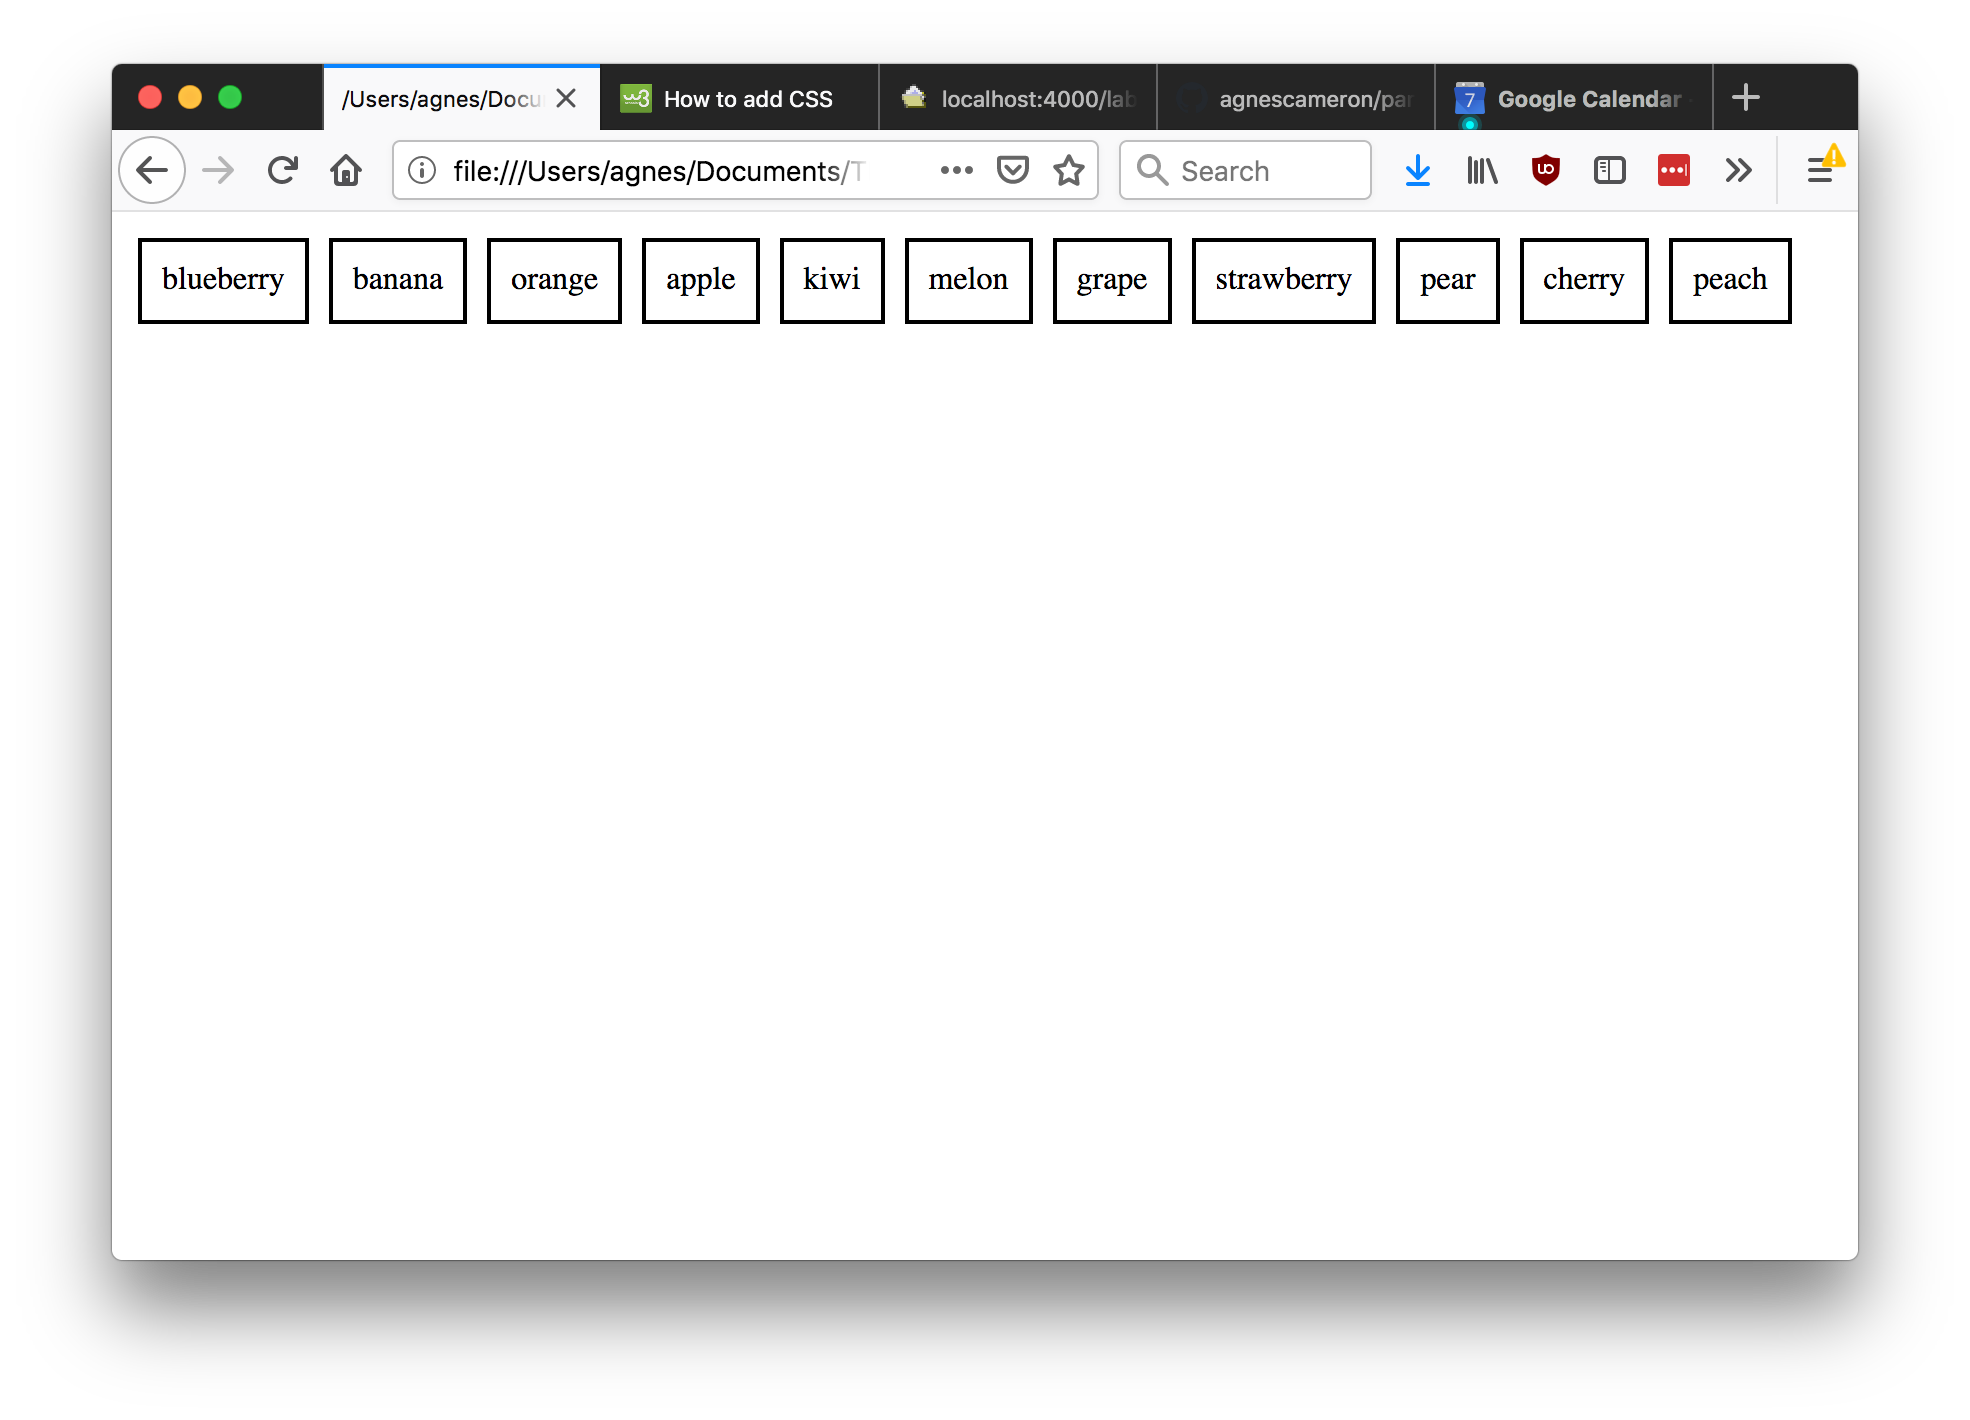
When you open index.html in a browser, it should look like this:
First of all, let’s just try adding more information to our boxes. We know that we can get the values of object properties using dot notation. So, let’s try it:
for(var i=0; i<fruits.length; i++){
	$('#ingredients').append("<div class='box'>" +
	fruits[i].name + "<br>" +
	fruits[i].color + "<br>" +
	fruits[i].flavor + "<br>" +
	fruits[i].shape + "<br>" +
	fruits[i].emoji +
	"</div>")
}
Remember: we can put line breaks in jQuery statements to make them easier to read (this is equivalent to writing everything out in one long line).
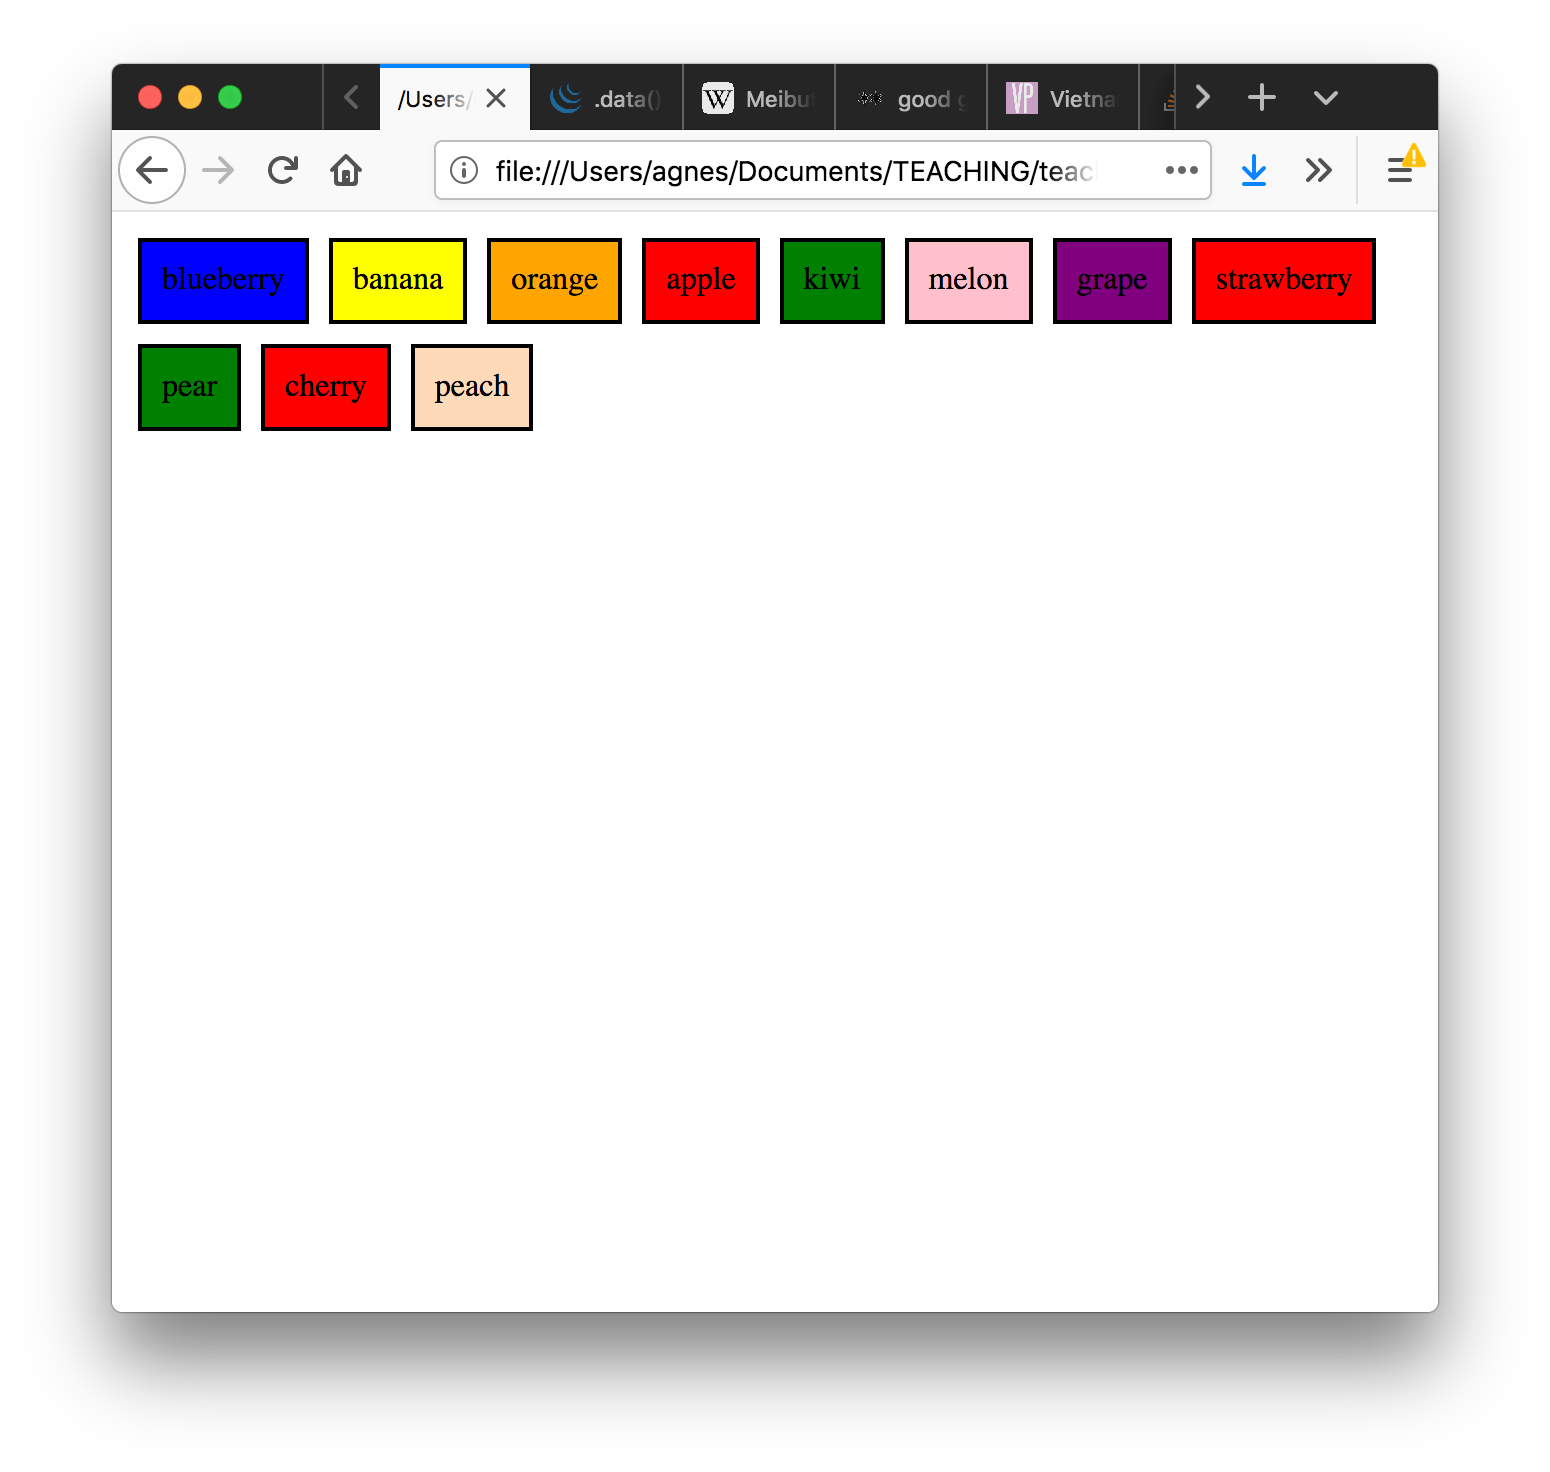
This is kind of ok, though we’ve got a bit of confusion with our colours: check out orange! What would be nice would be to illiustrate the colours, rather than just using their names. Conveniently, all the fruit colours we have are also names of colours in HTML. So why don’t we try adding it as a property:
for(var i=0; i<fruits.length; i++){
	$('#ingredients').append("<div class='box' style='background-color: "+ fruits[i].color + "'>" +
	fruits[i].name + "<br>" +
	fruits[i].flavor + "<br>" +
	fruits[i].shape + "<br>" +
	fruits[i].emoji +
	"</div>")
}
What we’ve done is included the color of the div as a variable, coloring each div according to the color of the fruit.
This has the desired effect, but it’s quite unwieldy code. Imagine if we wanted to add in more than one or two CSS properties!
building more complex jQuery
Instead, let’s introduce a way of neatly making more complex HTML elements in jQuery: creating a variable to hold a new element, doing things to that element, and then appending it to the page.
Let’s see what we mean by this using the example we started with: each div just contains a fruit name.
for(var i=0; i<fruits.length; i++){
	var fruitDiv = $('<div/>', {
			'class': 'box'
		})
		.html(fruits[i].name)

	$('#ingredients').append(fruitDiv)
}
What’s going on here? We have:
- made a variable called
fruitDiv - set it equal to a jQuery
divobject, which has the classbox - changed the div property
html, to include the fruit name in the div
This is equivalent to what we had before, but it gives us a much more organised way to deal with the new div. Why? Now, the div is an object, stored in a variable. The variable is like a box that’s zipped up all of our messy code, and lets us do things to whatever is inside.
Let’s try adding the colors back in:
for(var i=0; i<fruits.length; i++){
	var fruitDiv = $('<div/>', {
			'class': 'box'
		})
		.html(fruits[i].name)
		.css({'background-color': fruits[i].color})

	$('#ingredients').append(fruitDiv)
}
Nice! We’ve used the css method that we’ve used in jQuery before, and we’ve added the colour variable in there.
adding interactivity
I actually like the simplicity of the current setup – just the fruit names and colours – but I want a way for people to view all the extra info we have in the fruits array if they’re interested in a particular fruit (who wouldn’t be!).
The first thing we need to do is find a way to store the rest of the information in our div. To do that, we use the jQuery .data() method. What this allows us to do is take the fruit that we’re interested in (fruits[i]) and store all the information about it in our div, without needing to show it. The div just carries it around until we need to use it.
for(var i=0; i<fruits.length; i++){
	var fruitDiv = $('<div/>', {
			'class': 'box'
		})
		.data('fruit', fruits[i])
		.html(fruits[i].name)
		.css({'background-color': fruits[i].color})
		.click(function(){console.log($(this).data("fruit").name)})

	$('#ingredients').append(fruitDiv)
}
Now, we’ve appended a click listener to our div. This will print the fruit name to the console each time we click it. Try it and see!
What’s going on here?
- We use
.data()to store the element we’re - When we’re ready to use it (when the function gets called), we use the
$(this)keyword to get the div itself, then.data('fruit')to get the piece of data we’ve called fruit - We then use
.data('fruit').nameto retrieve the name of the fruit. This is like doingfruits[i].name
Q: Why can’t I just use console.log(fruits[i].name) in the click event listener?
A: Annoying, right? The reason we can’t do that is to do with something called scope: the areas of the code where different variables exist. The problem with using fruits[i] is that i only exists inside the for loop. This is fine when we’re making the divs and appending them, because we use them right away. This does not work for a function that’s going to get called long after the for loop has run, when i no longer exists.
Now we’ve got the console log working, let’s try doing something a bit more exciting. Instead of printing to the console where nobody can see, let’s add the information into our div when we click on it:
for(var i=0; i<fruits.length; i++){
	var fruitDiv = $('<div/>', {
			'class': 'box'
		})
		.data('fruit', fruits[i])
		.html(fruits[i].name)
		.css({'background-color': fruits[i].color})
		.click(function(){$(this).append($(this).data("fruit").name)})

	$('#ingredients').append(fruitDiv)
}
This does… something, but it’s not quite what we want. First up, let’s try formatting it a bit better: perhaps we’ll put the information inside a new span, and turn it into a description.
for(var i=0; i<fruits.length; i++){
	var fruitDiv = $('<div/>', {
			'class': 'box'
		})
		.data('fruit', fruits[i])
		.html(fruits[i].name)
		.css({'background-color': fruits[i].color})
		.click(function(){
			$(this).append( '<span> is ' +  $(this).data("fruit").shape + '</span>')
			})

	$('#ingredients').append(fruitDiv)
}
This doesn’t resolve our main problem though: each time we click, it adds a new span. Instead, what would be great is if we click it again, the span disappears. How do we do this? We’re going to need an if... else statement.

if… else statements
If… else statements turn out to be really useful when making interactive websites. They check to see if a statement is true, and run one block of code if it is, another if it’s not.
Let’s take a simple example:
var i = 5

if (i > 3){
	console.log('i is big')
}
This will print i is big to the console.
We can also add an else condition. This will run if the first statement isn’t true
var i = 5

if (i > 8){
	console.log('i is very big')
}

else{
	console.log('i is not very big')
}
Will print i is not very big.
Lastly, we can check for other conditions in the same statement:
var i = 5

if (i > 8){
	console.log('i is very big')
}

else if (i === 5){
	console.log('i is five')
}

else{
	console.log('i is not very big')
}
Will print i is five. The === is how we check to see if something is equal to something else in an if… else statement. If it’s only one equals sign, it will just set the variable to that value (not what we want). If it’s only 2 equals signs, strange and sometimes unwanted things happen. Three is just right.
Ok, back to our example. What we want in our code is an if… else statement that will check whether we’ve already clicked our div. If we haven’t, we want to show the information, and if we have, we want to get rid of it. We’ll use the data() method to keep track.
for(var i=0; i<fruits.length; i++){
	var fruitDiv = $('<div/>', {
			'class': 'box'
		})
		.data('fruit', fruits[i])
		.data('clicked', false)
		.html(fruits[i].name)
		.css({'background-color': fruits[i].color})
		.click(function(){
			if($(this).data('clicked') ===  false){
				$(this).append( '<span> is ' +  $(this).data("fruit").shape + '</span>')
				$(this).data('clicked', true)
			}
			else{
				$(this).find('span').remove()
				$(this).data('clicked', false)
			}
		})

	$('#ingredients').append(fruitDiv)
}
Wow! That’s a lot of code!
Let’s break down what this code is doing:
- up to line 6 it’s the same as before: for each element in our array, we’re making a div, we’re adding our fruit data to it
- next line, we add another piece of data. This piece of data is called
'clicked', and it’s value isfalse. This is going to tell us if the div has been clicked or not - we have a buch of the same stuff (adding html, css), until we get to the
clickevent listener. Here, we’re doing something new: when somebody clicks on the div, we check to see if that div’sclickeddata is set to false (it’s going to be unless something has changed it), and then runs two lines of code:- the first line does the same thing we were doing: it adds a span to the div, containing the shape of the fruit
- the second line changes the value of
clickedto true
- this means, the next time someone clicks on the div, it’ll go to the
elseoption, and run the lines of code there- first, it removes the span from inside the div (we use
$(this).find('span')as CSS selectors don’t work in the same way with thethiskeyword) - second, it sets
clickedback to false, effectively un-clicking the div. So, the next time we click on the div, we’ll run the first two lines again and reveal the information. and so on, and so on
- first, it removes the span from inside the div (we use
Have a go at changing this code to reveal different kinds of information! Can you make a version that just alternates between the fruit name and the fruit emoji?